Saturday, September 30, 2017

Bug Juice for Sale!

A few weeks ago a gal I grew up with posted a link to Sun, Sand and Second Grade's "Adopt a Texas Classroom" initiative to help classrooms affected by Hurricane Harvey. I signed up my 2nd graders and we were matched with a 1st grade bilingual classroom in Texas. As a class we began brainstorming ideas of how to raise money for these 1st graders who had lost so much. We decided to sell "Bug Juice" as our version of a lemonade stand at recess to raise money. We took a week to create student teams to sell juice, decide on a recipe, create prices and posters to advertise. In this time I realized I would need to very quickly plug in some money lessons to help us with this project. (I usually do money toward the end of 2nd grade, but knew we would need to change that this year!) We began our journey with a trip to the bank! I happen to be married to one of the loan officers in town, so I sweet talked him into scheduling us for a tour and a money lesson! The kids loved it!   

To begin our juice creations I took a trip to the Dollar Store to buy supplies to get us started and my student's parents went above and beyond to supply cups, Kool-aid packets, Sprite, whatever we needed to make our juice! I am so grateful for their support! One day during our sale week I realized we were going to run out of supplies. I quickly used SignupGenius to create a parent sign-up for supplies and I had parents bringing juice and cups by the end of that school day! I cannot say enough about how much I appreciate their support with this project. 

One of the most amazing things to me is that we sold juice Monday-Friday last week during recess and during that time we made $595 to purchase supplies for our Texas friends. Our little Kansas town with around 950 people was able to support our project and truly make it a success. I am so thankful to our school building leaders, teachers, students parents and community members for supporting us with this awesome endeavor. This activity has taught my students and myself so much and I know we won't forget it! THANK YOU!

Below I have a few pictures to document our "Bug Juice" adventure:
We counted quarters everyday and one student was so pumped when he found a Texas one! 

My husband gave us a change drawer to use and I taped coins in the drawer to help kids organize while selling the juice. 
My favorite "Bug Juice pic". I wish you could see their smiling faces, because they are just so darn cute! 

Here you can see the "Bug Juice" creation in action!
At the last minute we decided to add gummy worms to our recipe and they were a huge hit! 
We started our goal at $150 dollars and graphed our progress every day.
We kept adding and adding sections...
Until soon it was too big to hang up! 
We have begun writing as a class to our first grade friends and hope to be pen pals this year. (We are trying out some new Spanish phrases to connect with our friends, We've been working on "ama a tus amigos" which we hope means "Love your friend" to sign our letter)
Happy notes are ready to send off! 

Wednesday, September 20, 2017

STEAM Bins


Here's a quick pic of my STEAM Bins that I use with my second graders. The ask, imagine, plan, create and improve posters were a freebie from http://wildaboutfirsties.blogspot.com. I ordered the STEAM bin packet with the title, bin covers and task cards from Brooke Brown at Teach Outside the Box on TPT, click this link to find her store: Teach Outside the Box. I was initially thinking I'd put all the bins on a shelf, but found this rolling cart in storage at our school. Two wheels were off, but with some rubber bands and hot glue, I was able to slip them back on in no time! #teacherskills My kiddos absolutely love them! Right now I use them for early finishers and if we have a few minutes in transitions or after math journals. I am so thrilled that I finally found something hands-on that students can do after they finish an assignment. I have two very simple rules for the kids: 1.) No talking or the bin must be put away. 2.) All material must be picked up when finished. Otherwise, I let the kids' creativity fly! Below are a couple links to videos of my kids using the STEAM bins if you'd like to see them in action! (Sorry in advance for the views of my feet as I move from desk to desk in the videos, but it was so peaceful walking around just listening to materials moving as I knew brains were working...)  


https://drive.google.com/file/d/0Bx9pPDpF9DQZMWNzSWlWV0RNalE/view?usp=sharing

https://drive.google.com/file/d/0Bx9pPDpF9DQZbExyYzhWZlBWc28/view?usp=sharing

Tuesday, August 22, 2017

Ready for a New School Year!

My classroom is finally ready and I can't wait for my "2" FABULOUS second graders to arrive! 
This year I was able to add tassels to my outside board and I think it really spruced up the hallway!
My sweet hubby sent me flowers today... I remember the very first time he sent me flowers right before school started the summer we began dating. I still get those butterflies when I receive flowers from him today! He's a keeper! 

I made these awesome shadow boxes over the summer to help with my plain jane white wall. I had gotten the boxes from Hobby Lobby on 90% off clearance a few years ago for $1.80 a piece. They had a weird & symbol, so I just painted them black and downloaded these super cute FREE chalkboard signs from Khrys Greco on TPT. Here's a link to her page: Chalkboard Signs. I was able to Mod Podge the chalkboard signs over the shadow boxes, but I had trouble getting the boxes to hang on my cement walls. My handsome hubby came up to the school and graciously hung them with fishing line from the ceiling for me, but then I had a bare space, so I found this adorable FREE printable from A Modern Teacher on TPT click here to view her store: Amazing Things Happen Here
  I printed it on cardstock, laminated and put the words in the space. This project definitely snowballed, but I absolutely love the way it turned out! 

*This year I also added my colorful and shiny tassels to help my wall have more fun! I watched an online tutorial (I can't remember which one), grabbed my hot glue gun, started Netflix and went to work. It was super easy and fun to make! 

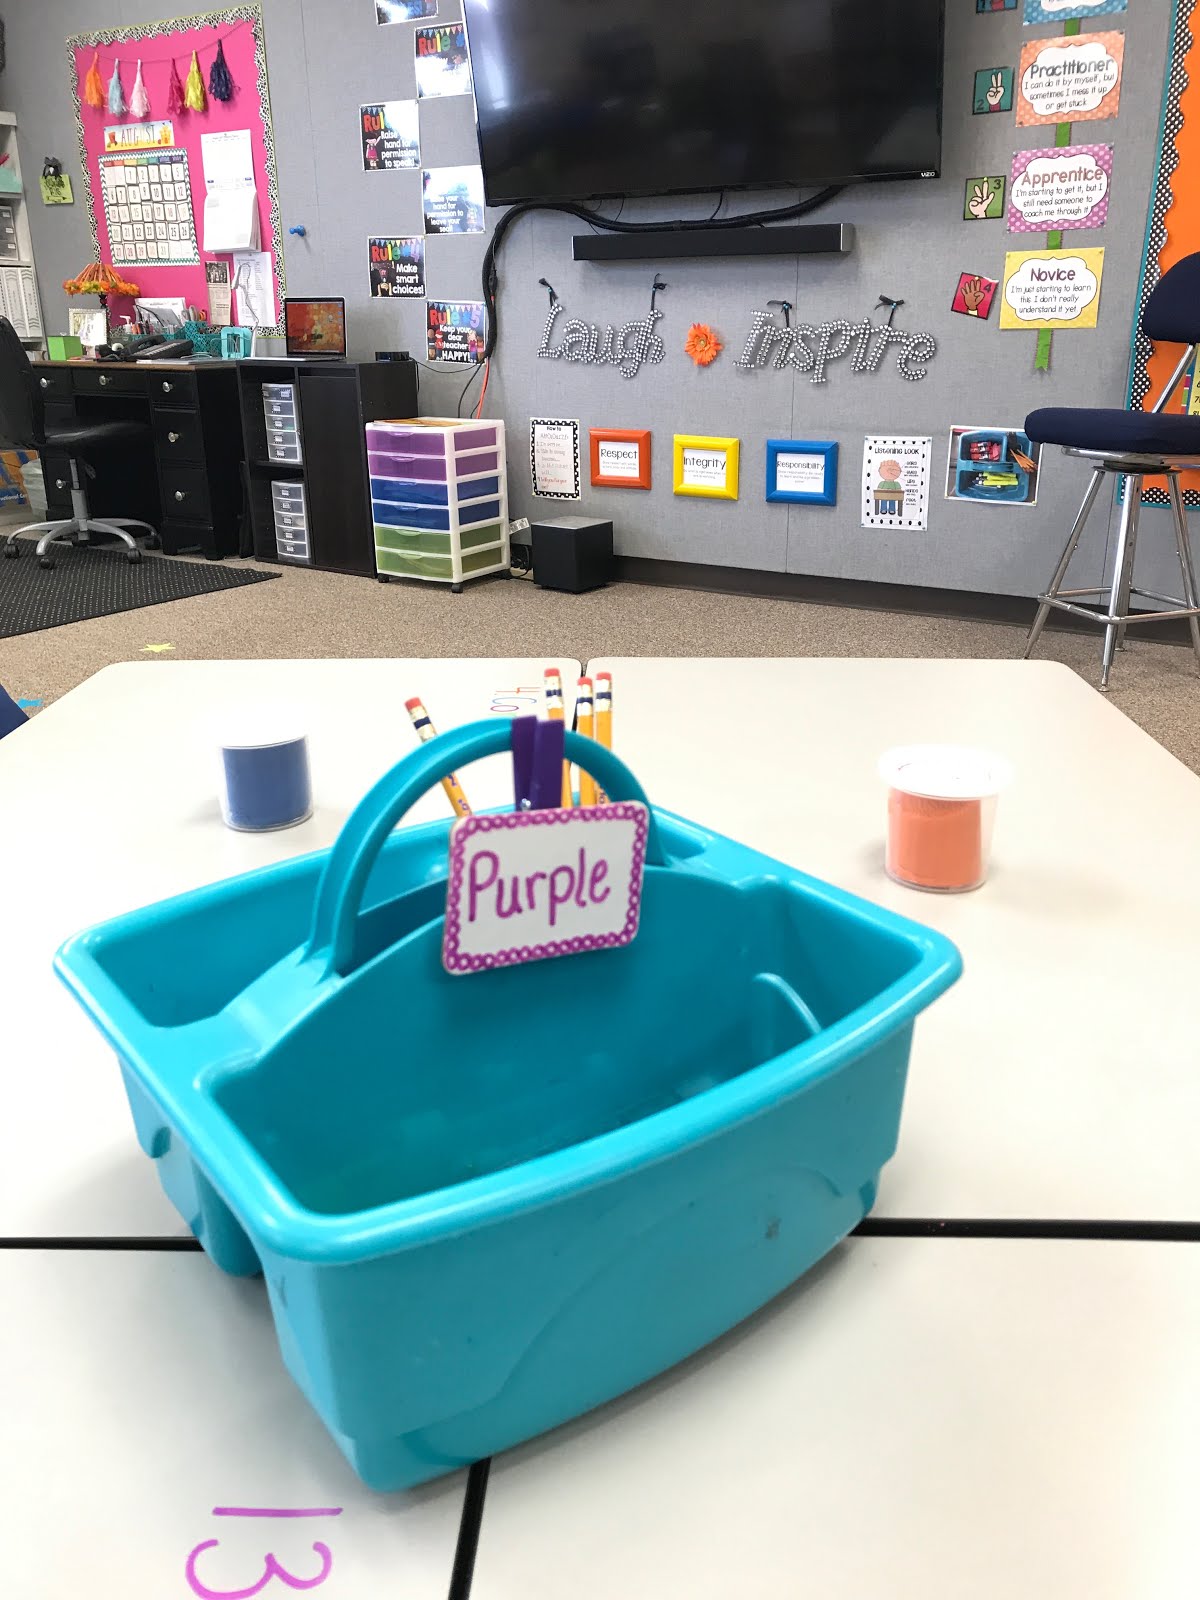
I finally got smart about my group bins. I found these awesome whiteboard clips at the Target $1 aisle, I wrote on them with a permanent marker and clipped them to each group bin. Super easy and simple! 
I ordered the STEAM bin packet by Brooke Brown from Teach Outside the Box on TPT, click this link to find her store: Teach Outside the Box. I was initially thinking I'd put all the bins on a shelf, but found this rolling cart in storage at our school. Two wheels were off, but with some rubber bands and hot glue, I was able to slip them back on in no time! #teacherskills I absolutely can't wait to try the bins out with my kiddos. I think it will be perfect for fast finishers and help with my busy second grade babies! 

Friday, February 10, 2017

Plickers!

I saw this post recently on Laura Candler's blog http://www.lauracandler.com about an interactive technology called Plickers https://plickers.com. The draw for me was that in order to use the technology you only need ONE hand-held device and the app is FREE!! I'm signed up for her FREE webinar tonight to learn more about this awesome resource! Here's the steps I followed to try it out and I so excited that it actually worked! We've done it now a few times with some simple math questions and I can't wait to add more question folders to my question queue and use Plickers again!! Here are the steps I followed to get started: 
  • Go to https://plickers.com and click cards and download to download the special Plickers cards. Print the cards off on cardstock (don't laminate, so they are easier to scan) Each card has a number on it, so I wrote my kiddo's name with their class number that matched on the back of each card. 
  • Create a FREE Plickers account
  • Click on Classes and Add New Class to add your students. I added them according to the number they already have in my class in ABC order. 
  • Click on Library to create new questions then add them to your Question Queue.
  • Download the FREE Plickers app on your hand-held device from the app store (I use my teacher iPad). 
  • Explain the cards to your students (Each card has special scan symbol and a choice of A, B, C or D) and you are ready to begin! 
Here's a few pics of my students interacting using Plickers: The question is projected on my Apple TV screen while I use the iPad to scan cards quickly and see results. I also love this because it is completely SILENT, but every student is PARTICIPATING!!!

To help with managing answers, I decided to have my students hold their Plickers card by their chest until I say, "Showdown!" Then students hold the cards up high for me to scan as seen in the picture below. It took a bit of practice for students to turn cards correctly, but now I can scan them with ease. Also, as soon as students see on the screen that their card has been scanned, they turn their card upside down on the floor. *On another teaching note, I started with really simple math problems like,1+1= just so students could get used to using the cards and I could teach management. 


Tuesday, January 3, 2017

STEM, Grinch Day, Snow Dough and Party Time!


I can't believe how quickly Christmas break has gone. I am gearing up to head back to school tomorrow and just realized I have some blogging to catch up on! This was the first Christmas for my husband and I together and we had a busy & fun time enjoying each other's family Christmas celebrations. I began taking online courses last summer to obtain my masters degree in Reading Specialist and it feels like I have spent every spare minute this break working on homework! Yikes! I just finished one of my large case study assignments and now have time to reflect and share about the few weeks before Christmas break. We had a wonderful time celebrating the Christmas season in second grade! 

This was my first time incorporating a STEM project into the days before Christmas break. I was a little nervous about the project, but it turned out to be a great learning opportunity for my kiddos! I purchased STEM Challenges for the Entire Year from Brooke Brown's Teach Outside the Box on Teachers Pay Teachers. Here's a link to her store and blog:  http://teachoutsidethebox.com/. The challenge was making Santa's parachute! I shared with students that Santa's sleigh had broken and they needed to make a parachute to help him land safely. We spent a few days studying parachutes and drawing/writing plans in partners. Then I let them create! Here's a few pics: 


We timed how long it took our parachutes to fall from the top of the doorway to the ground and I then gave partners time to re-work and alter their initial design. At the end of the parachute project each partner group shared with the class what they learned about gravity and drag in order to make a successful parachute. 

We found this note on our door the next day: 


We celebrated Grinch day with green outfits, Who hairdos and lots of grinchy fun! First Grade Wow has a FREE grinch unit that is so much fun! Grab it here: http://firstgradewow.blogspot.com/ This is always one of my favorite days of the year! 


As promised, Santa's elves brought us SNOW DOUGH to play with! Santa's delivery boxes have been updated with some free clip art and mailing labels and pretty red chevron duct tape. 


Finally it was time to party! We had some amazing parents who brought the cutest reindeer snack and elf juice! I helped the kiddos make snowman shooters with cotton balls and we had lots of fun & laughter! 


Thursday, October 13, 2016

Tattle Monster


I used a cute Kleenex box and glued on a few little details like teeth, eyes and a nose.
I added a velcro side flap to get notes out! :)

As an elementary teacher there are some days when you feel like you've really made a difference...There are also some days when you stay after work to make a "Tattle Monster" while thanking the Lord that tomorrow is Friday! :) 

Friday, October 7, 2016

Insect Museum is Ready!

This year my students really need to work on writing sentences and I thought I could incorporate sentences into the insect museum somehow. Also, I was able to get some wonderful new technology in my classroom and I wanted to include it into this insect project. I decided to use the app Text2Pic to take a picture of my student flap creations and then each student was able to type a sentence about what what he or she has learned. I put all the creations together into a keynote presentation with music and it will be playing during our museum today. A student's example is above. 
This is what each student has ready on his or her desk. A lab report, Entomologist book, from Stephanie Stewart (If you haven't checked out her Teachers Pay Teachers website you definitely should! She has wonderful resources), and the insect  studied. (I'm just now noticing a P.E. shoe made it in this picture! Ha! Sorry! Teachers have no time for retakes! :))


Finally, we took some pictures for our Keynote slideshow and we are ready to roll! I can't wait for my second graders to show off what they have learned! Proud teacher moments to come! :)